Do You Install a Roof Vent Before or After Shingles? Best Practices Explained
A properly ventilated roof helps prevent moisture buildup, extends the lifespan of your shingles, and reduces energy costs. But when it comes to installing a roof vent, one common question homeowners ask is:
Do you install a roof vent before or after shingles?
The best practice is to install roof vents before laying shingles. This ensures proper sealing, prevents leaks, and allows for a more secure fit. However, in some cases—such as when adding ventilation to an existing roof—vents may be installed after shingles, with extra steps to prevent water damage.
Below, we break down the correct installation process, common mistakes to avoid, and why timing matters for a durable, leak-free roof.
Why Proper Roof Vent Installation Matters
Roof ventilation plays a crucial role in regulating attic airflow and protecting your home from moisture-related issues. Without proper vents, you may face problems such as:
Heat buildup in the attic, leading to premature shingle deterioration.
Higher energy bills due to inefficient temperature control.
Mold and mildew growth, which can compromise air quality and insulation.
Types of Roof Vents
Different vent types affect how and when they should be installed. The most common options include:
- Ridge vents – Installed along the peak of the roof to allow hot air to escape.
- Box vents – Small, static vents placed near the highest points of the roof.
- Turbine vents – Use wind power to pull air out of the attic.
Regardless of the type, proper installation is key to preventing leaks and maximizing efficiency.
Should You Install a Roof Vent Before or After Shingles?
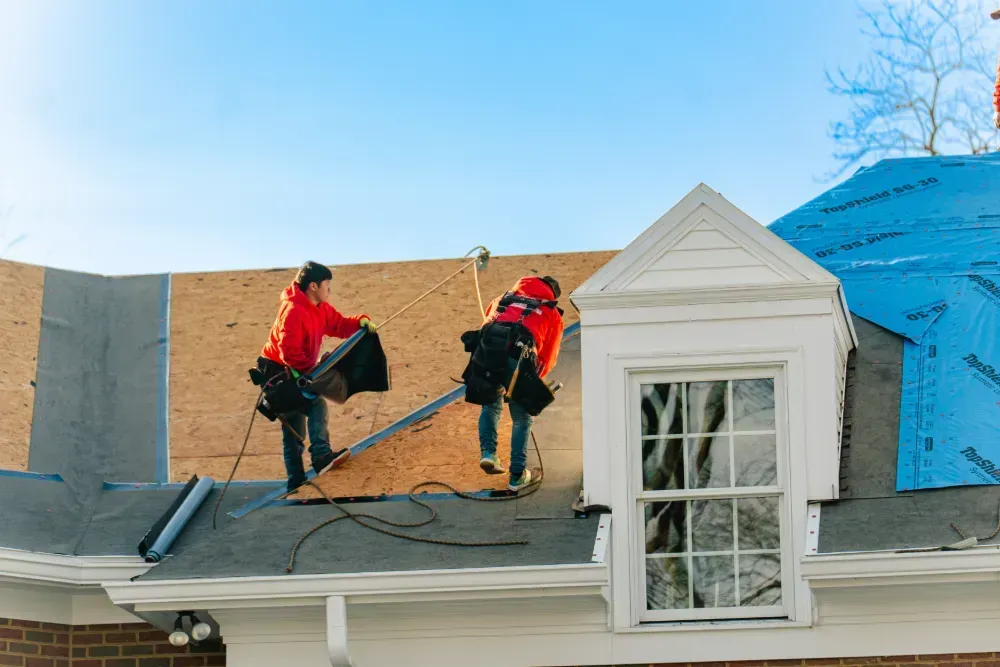
Before Shingles: The Standard Installation Process
For new roofing projects, roof vents should always be installed before shingles. This allows for:
Precise cutting of vent openings in the roof decking.
Secure flashing and waterproofing to prevent leaks.
Proper shingle layering around the vent base for a seamless, weather-resistant finish.
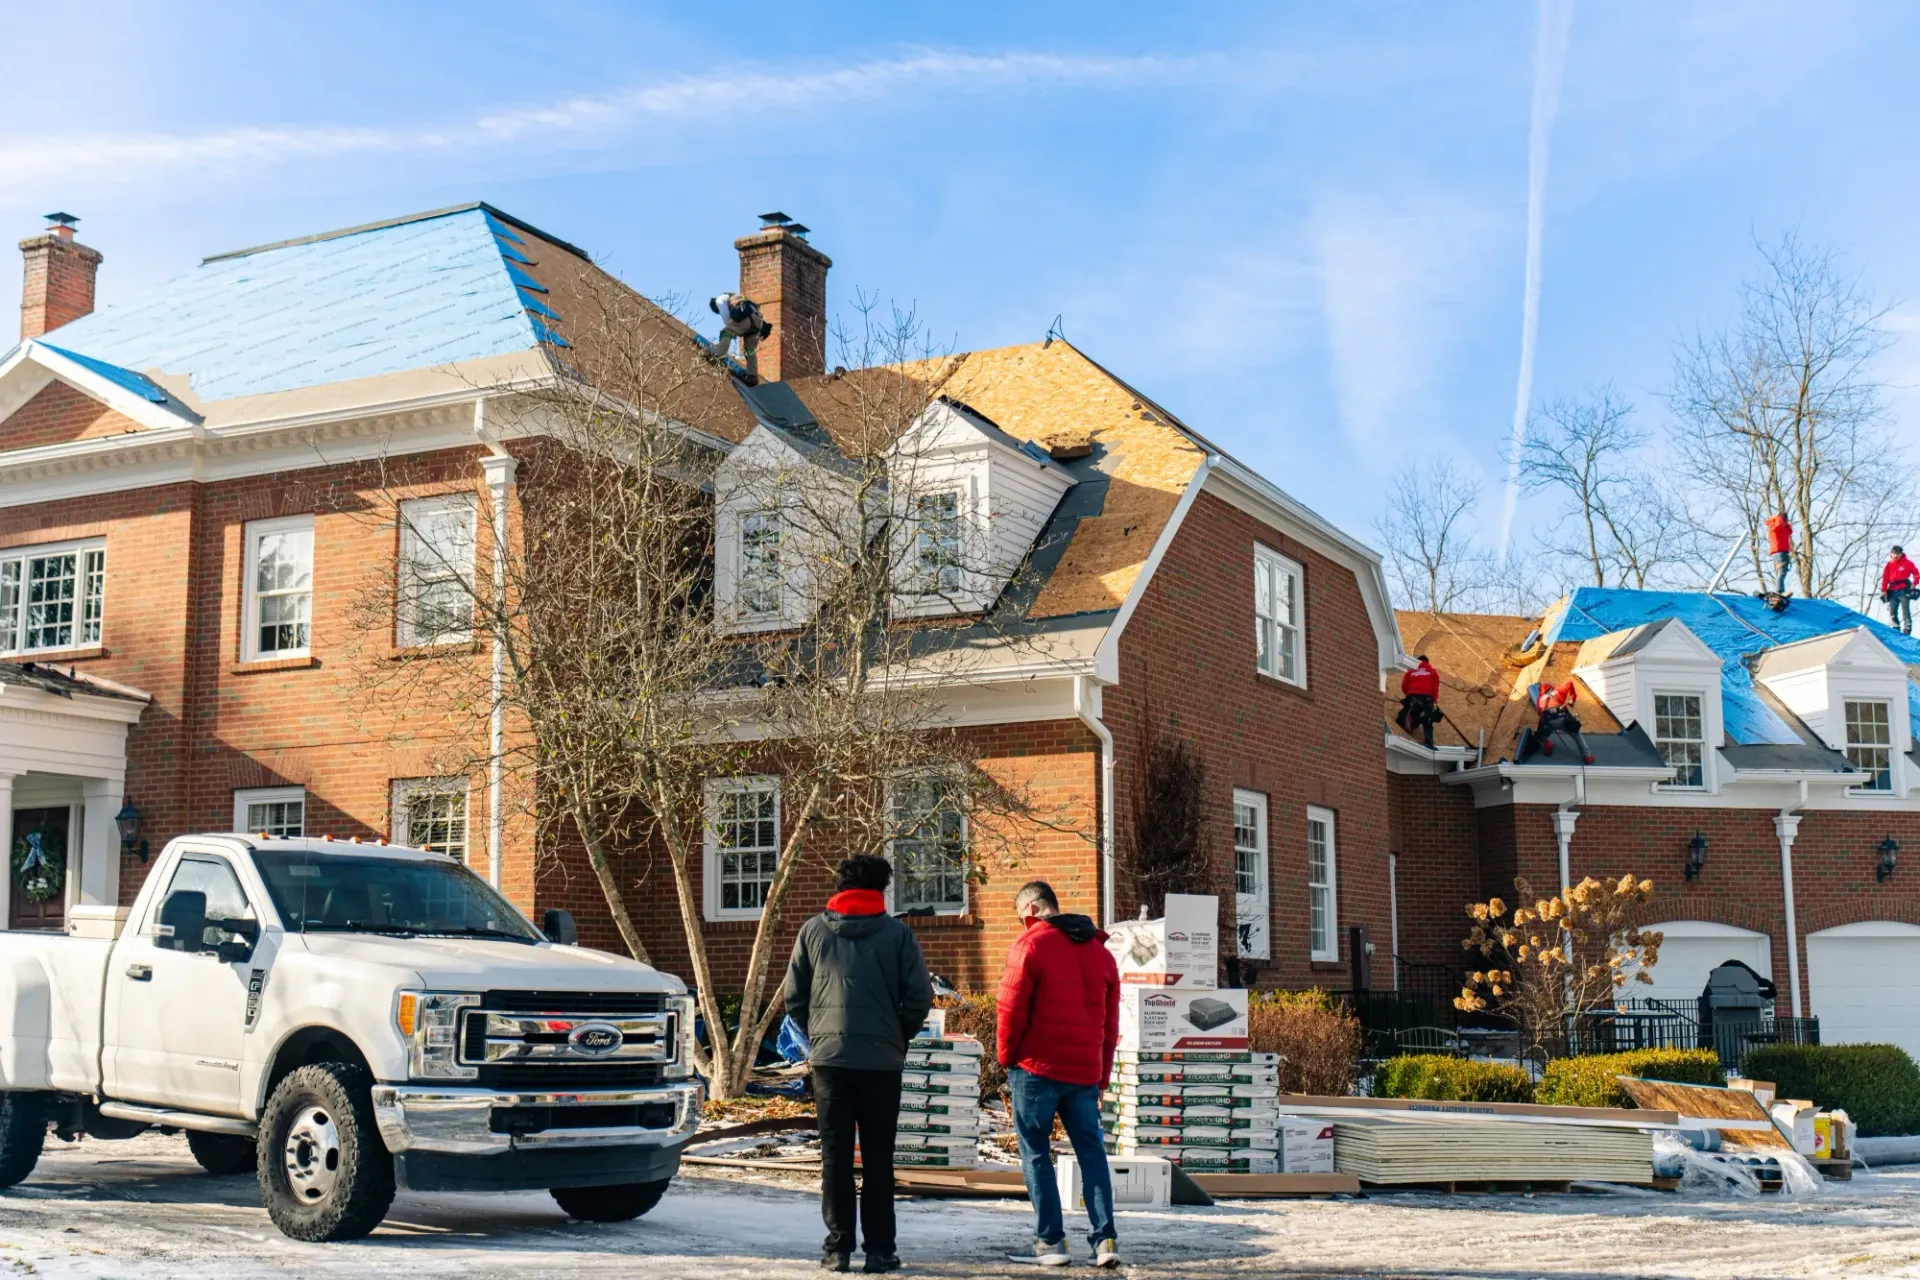
If you're replacing your roof entirely, it's best to work with an experienced roofing contractor to ensure vents are installed at the right stage.
After Shingles: When Is It Necessary?
In some cases, roof vents are installed after shingles—but this is only done when:
- Adding a vent to an existing roof to improve airflow.
- Fixing poor ventilation in older homes.
When installed after shingles, extra care is needed to
cut through the roofing materials, apply flashing correctly, and seal the edges to prevent leaks. Consulting a
storm damage repair expert can ensure proper vent installation if you're addressing ventilation concerns following wind or hail damage.
Best Practices for Installing Roof Vents Before or After Shingles
To ensure a long-lasting and leak-free installation, professionals follow these key steps:
Step 1: Plan and Measure Vent Placement
- Determine the number of vents needed based on attic size.
- Space vents correctly to maximize airflow and efficiency.
Step 2: Cut the Roof Vent Openings
- Openings should be cut before shingle installation for a precise fit.
- Cutting holes afterward can lead to improper sealing and increased leak risks.
Step 3: Install the Roof Vents Securely
- Vents should be properly aligned and secured to the roof decking.
- High-quality flashing should be applied around the vent to create a waterproof barrier.
For older homes or properties with structural challenges, a trustedroofer may be required to ensure the roof structure can support new ventilation points.
Step 4: Layer Shingles Around the Vent Base
- Shingles are carefully placed around the vent to cover flashing and prevent water intrusion.
- Special roofing sealant is used for extra protection against leaks.
Common Mistakes to Avoid
Installing vents after shingles without proper sealing. This can lead to major leaks.
Placing vents in the wrong location. Poor positioning can reduce airflow and efficiency.
Skipping flashing or improper sealing. Without the right waterproofing, your roof is vulnerable to water damage.
Pro Tip: If a vent must be installed after shingles, always use high-quality roofing sealant and flashing to ensure a leak-proof fit.
FAQ: Roof Vent Installation Questions Answered
Can You Install a Roof Vent on an Existing Roof?
Yes! If your attic lacks proper ventilation, a vent can be added to an existing roof. However, this requires cutting through shingles, installing flashing, and applying sealant to prevent leaks. If your home's siding is also showing signs of age, a Pickerington siding contractor can assess your home’s exterior for additional protection.
What Happens If You Install a Vent After Shingles?
If not properly sealed, installing a vent after shingles can create openings for water infiltration. That's why most vents are installed before shingles during a new roof installation.
How Many Roof Vents Do I Need?
The number of vents depends on your attic size and ventilation system. A general rule is one square foot of ventilation per 300 square feet of attic space.
Do You Need a Professional for Roof Vent Installation?
While DIY vent installation is possible, incorrect placement or poor sealing can lead to expensive roof damage. Hiring a professional ensures:
✔
Correct vent positioning for optimal airflow.
✔
Leak-proof flashing and sealing techniques.
✔
Compliance with roofing warranties and building codes.
At Price Brothers Restoration, we specialize in roof ventilation and installation to protect your home from moisture damage and inefficient airflow. Whether you need a new vent system or comprehensive roof repairs, our team is equipped to deliver reliable results.
Get Expert Roof Vent Installation from Price Brothers Restoration
Ensuring proper roof ventilation is essential for a durable, energy-efficient home. Whether you're replacing your roof or need additional vents, trust Price Brothers Restoration for expert service.
Call Price Brothers Restoration today for a consultation!