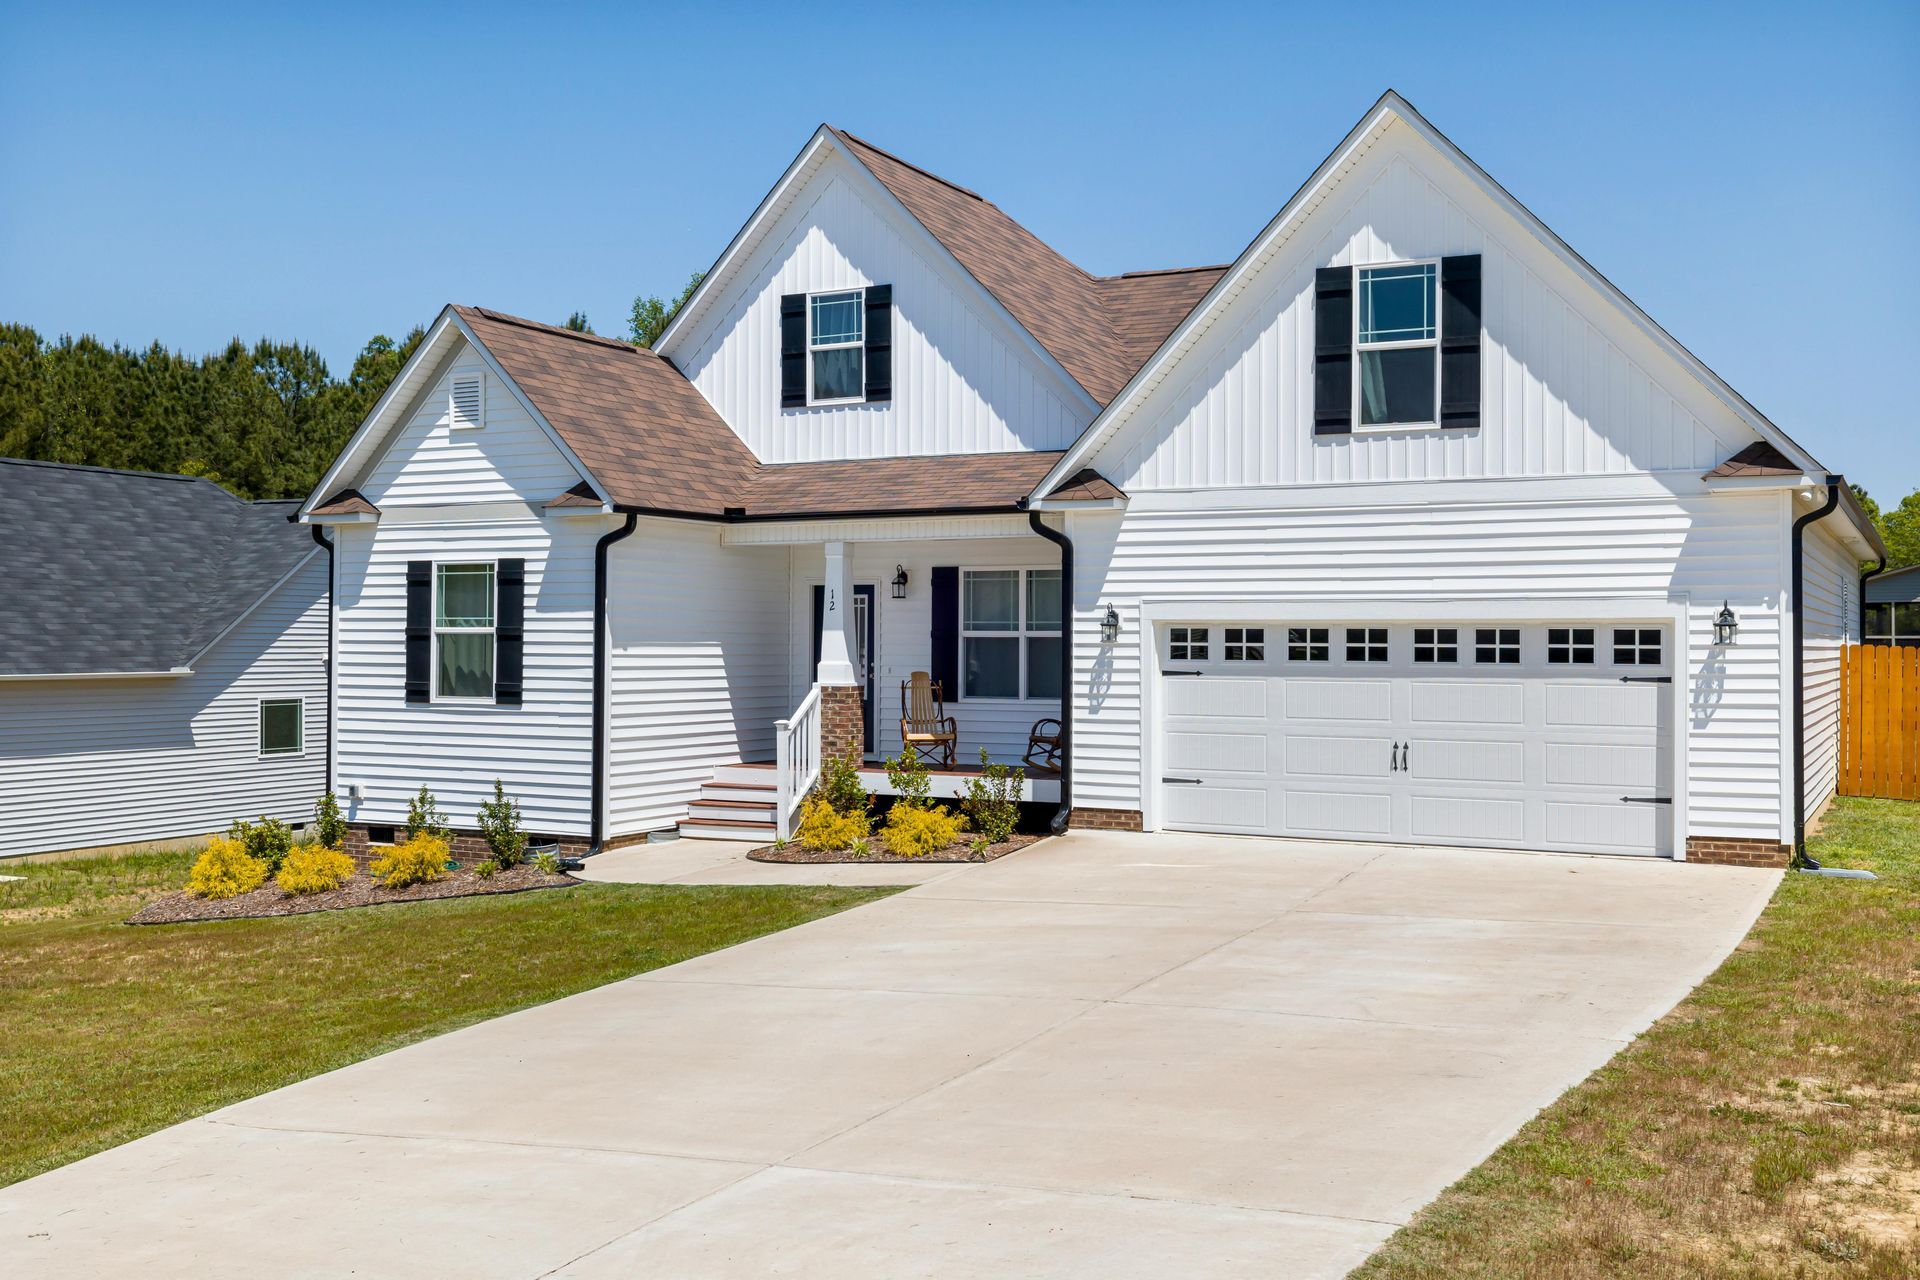
How to Hang Shutters on Vinyl Siding Without Damaging Your Home
Shutters are a simple upgrade that can instantly boost your home's curb appeal. But if you’re working with vinyl siding, it's important to be careful—one wrong move can leave you with cracks, leaks, or even bigger repairs down the line.
Here’s a straightforward guide to help you hang shutters securely without putting your siding at risk.
Why Getting It Right Matters
Vinyl siding is built to be tough, but it's not indestructible. Improper installation can lead to:
- Cracks that let moisture in
- Buckling or warping panels
- Voiding your siding’s warranty
- Unnecessary repair costs later
A careful, well-planned approach will not only protect your siding, but also make sure your shutters stay securely in place for years to come.
What You’ll Need to Get Started
Before you climb the ladder, make sure you have everything you need:
- Vinyl, composite, or lightweight wood shutters
- Vinyl siding fasteners (or specially made shutter screws)
- Drill with vinyl-safe bits
- Level
- Tape measure
- Pencil or chalk
- Sturdy ladder
- Optional: exterior caulk for extra weather protection
Choosing the right materials upfront is half the battle to getting a clean, damage-free finish.
Step-by-Step Guide: Hanging Shutters on Vinyl Siding
Step 1: Pick the Right Shutters and Hardware
Not every shutter or fastener plays well with vinyl siding. Choose lightweight, weather-resistant shutters and fasteners designed specifically for vinyl. Standard screws might seem like an easy choice but can easily crack or warp your siding over time.
Step 2: Map Out Your Placement
Measure twice, drill once.
Use your tape measure to figure out exactly where your shutters should sit beside each window. Mark the top and bottom with a pencil or chalk. Keeping everything even—and leaving just a little room for the siding to expand and contract—is key to a smooth look.
Step 3: Pre-Drill Pilot Holes
Now it's time to drill, but a little prep goes a long way:
- Start by drilling small pilot holes in the shutters where your fasteners will go.
- Hold the shutter up and mark matching spots on the siding.
- Drill through the siding carefully—just deep enough to allow the fastener through without punching into the wall behind it.
Pilot holes help prevent cracking and keep the fasteners from putting too much pressure on the siding.
Step 4: Attach the Shutters
With your shutters lined up and your pilot holes ready, it’s time to fasten them down:
- Use a level to double-check the alignment.
- Install the top fasteners first to keep things steady.
- Insert the remaining fasteners gently—tight enough to hold, but not so tight that the siding can’t flex with the weather.
Vinyl needs a little breathing room. Cranking down too hard on the screws can cause future warping.
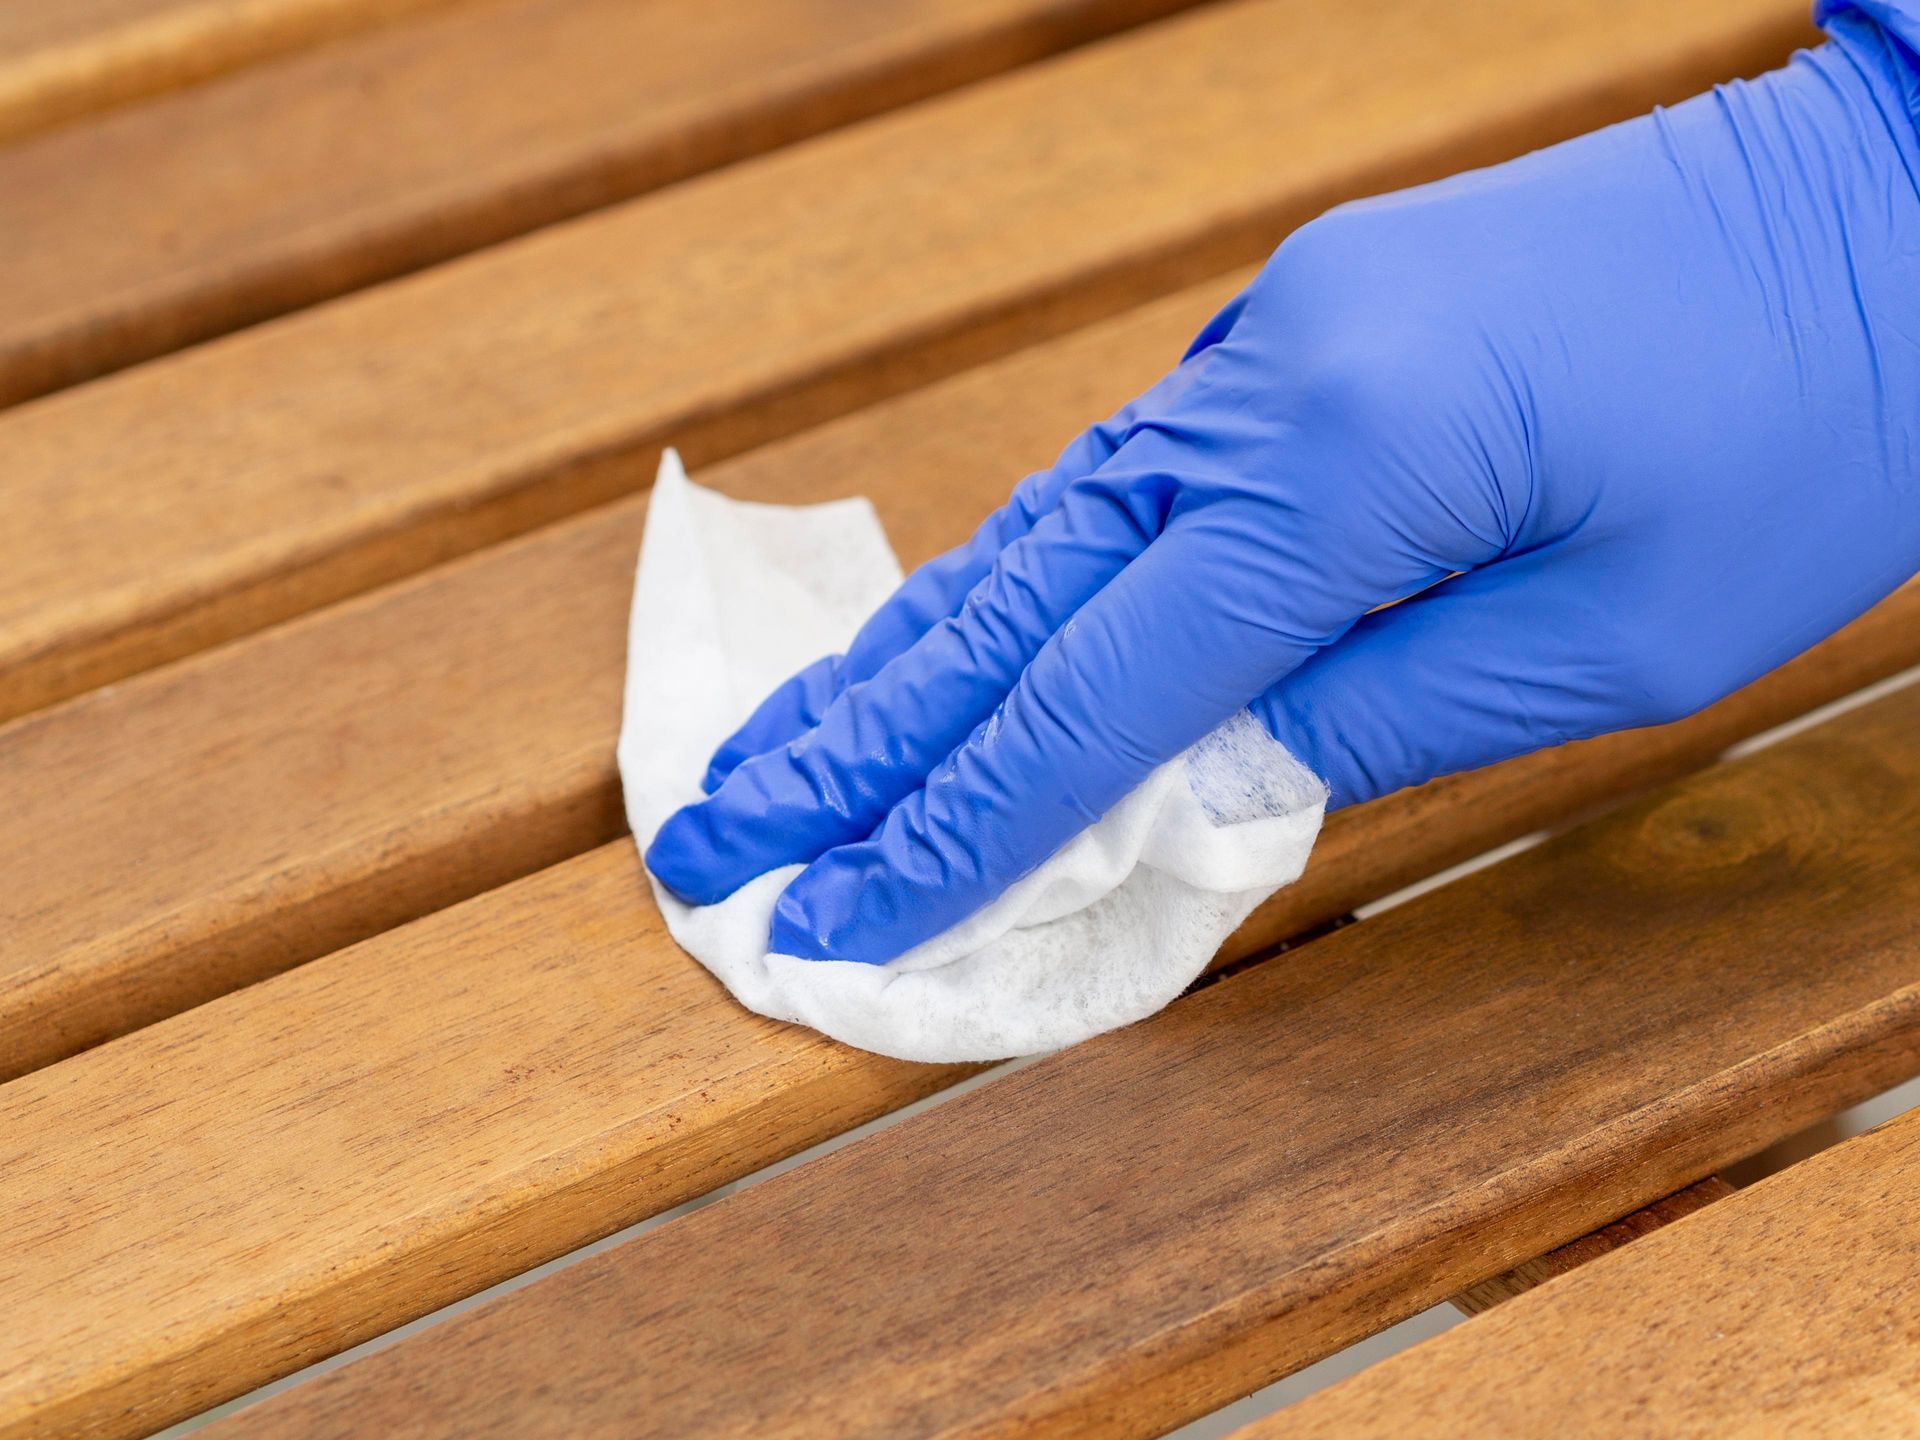
Step 5: Seal if Needed
Depending on your home’s exposure to rain or high winds, it might be worth sealing around the fasteners with a bead of exterior-grade caulk.
It’s a small step that can go a long way toward keeping moisture out.
Mistakes You’ll Want to Avoid
We’ve seen it all when it comes to siding repairs. Here are the most common shutter installation mistakes to avoid:
- Using standard screws instead of siding anchors
- Drilling too deep into the siding or wall beneath
- Ignoring expansion space for siding movement
- Skipping pilot holes that help prevent cracks
Taking a few extra minutes to do it right can save you from big headaches later on.
When It’s Better to Call in a Pro
If your shutters are going up on a second story, or if your siding is older and brittle, it might be smarter (and safer) to let a professional handle it.
At Price Brothers Restoration, we’ve helped countless homeowners across Central Ohio protect their siding while making smart upgrades to their homes. Whether you’re looking for shutter installation, siding repairs in Pickerington, or a full exterior refresh, we’re here to help.
Common Questions About Hanging Shutters on Vinyl Siding
Can I screw directly into vinyl siding?
Not without a fastener designed for it. Drilling directly with regular screws risks cracks and leaks.
What fasteners should I use for vinyl siding?
Use shutter fasteners or siding anchors that allow your siding to flex without pulling loose.
Can I hang shutters without drilling into the siding?
There are some clip systems out there, but for most shutter sizes and real durability, drilling with care is the better option.
Will installing shutters damage my siding?
Not if it’s done right. Pre-drilling, using the right hardware, and not overtightening are the keys to a safe, clean installation.
Trust Your Home’s Exterior to Price Brothers Restoration
Your home’s siding is one of its first lines of defense against the elements—and it deserves expert care. If you're thinking about upgrading your exterior with new shutters, or you want a second opinion before drilling into your vinyl siding, Price Brothers Restoration is ready to help.
We bring the same attention to detail to every project, whether it’s installing shutters or tackling full-scale siding restoration.
Schedule your free consultation today and see how easy it is to give your home the standout look it deserves—without risking your siding in the process.